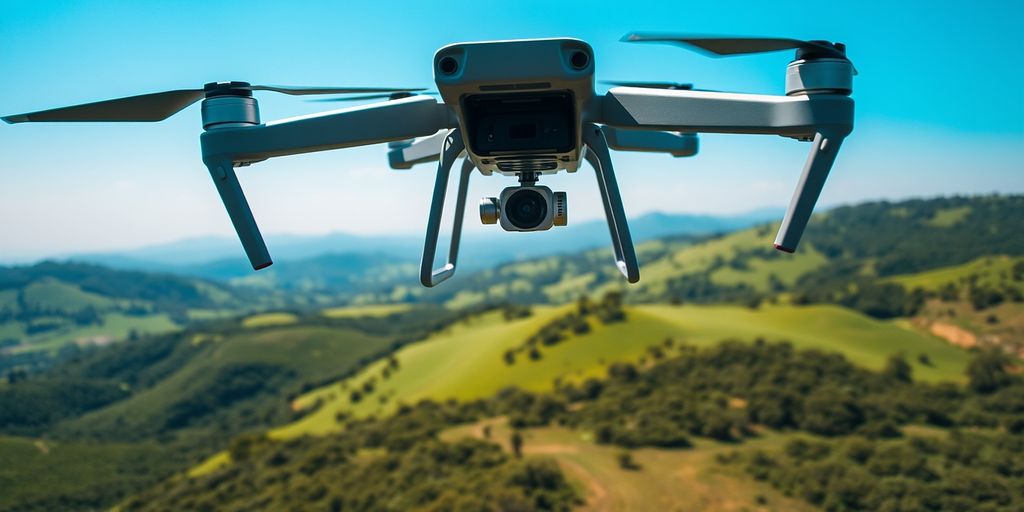
AMAZING DRONE PHOTOGRAPHY | 7 tips to get awesome photos every time! Drones have revolutionized photography, enabling photographers to capture breathtaking perspectives from above. In this article, we’ll explore seven essential tips to help you take stunning drone photographs every time you fly.
Key Takeaways
- Plan your shots by exploring locations and utilizing resources such as Google Earth for assistance.
- Ensure your photos have a connection and meaning to engage the audience.
- Ensure you wait for optimal lighting conditions, as timing plays a crucial role in achieving the best outcomes.
- Try varying your angles to make photos more exciting and impactful.
- Selecting a perspective is crucial in drone photography, as altitude plays a significant role in capturing impressive shots.
- Utilize Professional Settings to enhance your control and access additional functionalities.
Enhance the quality of your photos by stacking them to minimize noise and improve clarity.
The Freedom of Drone Photography
One significant benefit of drone use is the flexibility to position your camera in locations as long as zones do not restrict you. This flexibility offers a range of opportunities but can also present challenges in finding the proper compositions. To assist you in navigating this aspect of drone photography and enhancing your skills in this field, take note of the following tips.
To help you navigate this, here are some tips to elevate your drone photography.
Discover a topic of interest.
A photo lacking a subject may seem lacking in substance or meaning. Try enhancing your pictures with these tips to captivate viewers effectively.
Enhance the appeal of your photos by adding elements such as people or distinctive landscapes to give them meaning and context.
Ensure your photographs convey a narrative or evoke a feeling that resonates with the audience on a personal level.
Proper lighting can genuinely ruin a photograph’s quality. Perfecting your shooting times is crucial for capturing the best shots.
Try to capture your photos during the hours of sunrise or sunset for a vibrant lighting effect.
Try to steer clear of the midday sun, as it can result in dull photoshoots with flat images; opt for shooting when the lighting is more pleasing.
Using drones can provide viewpoints that elevate your photography skills.
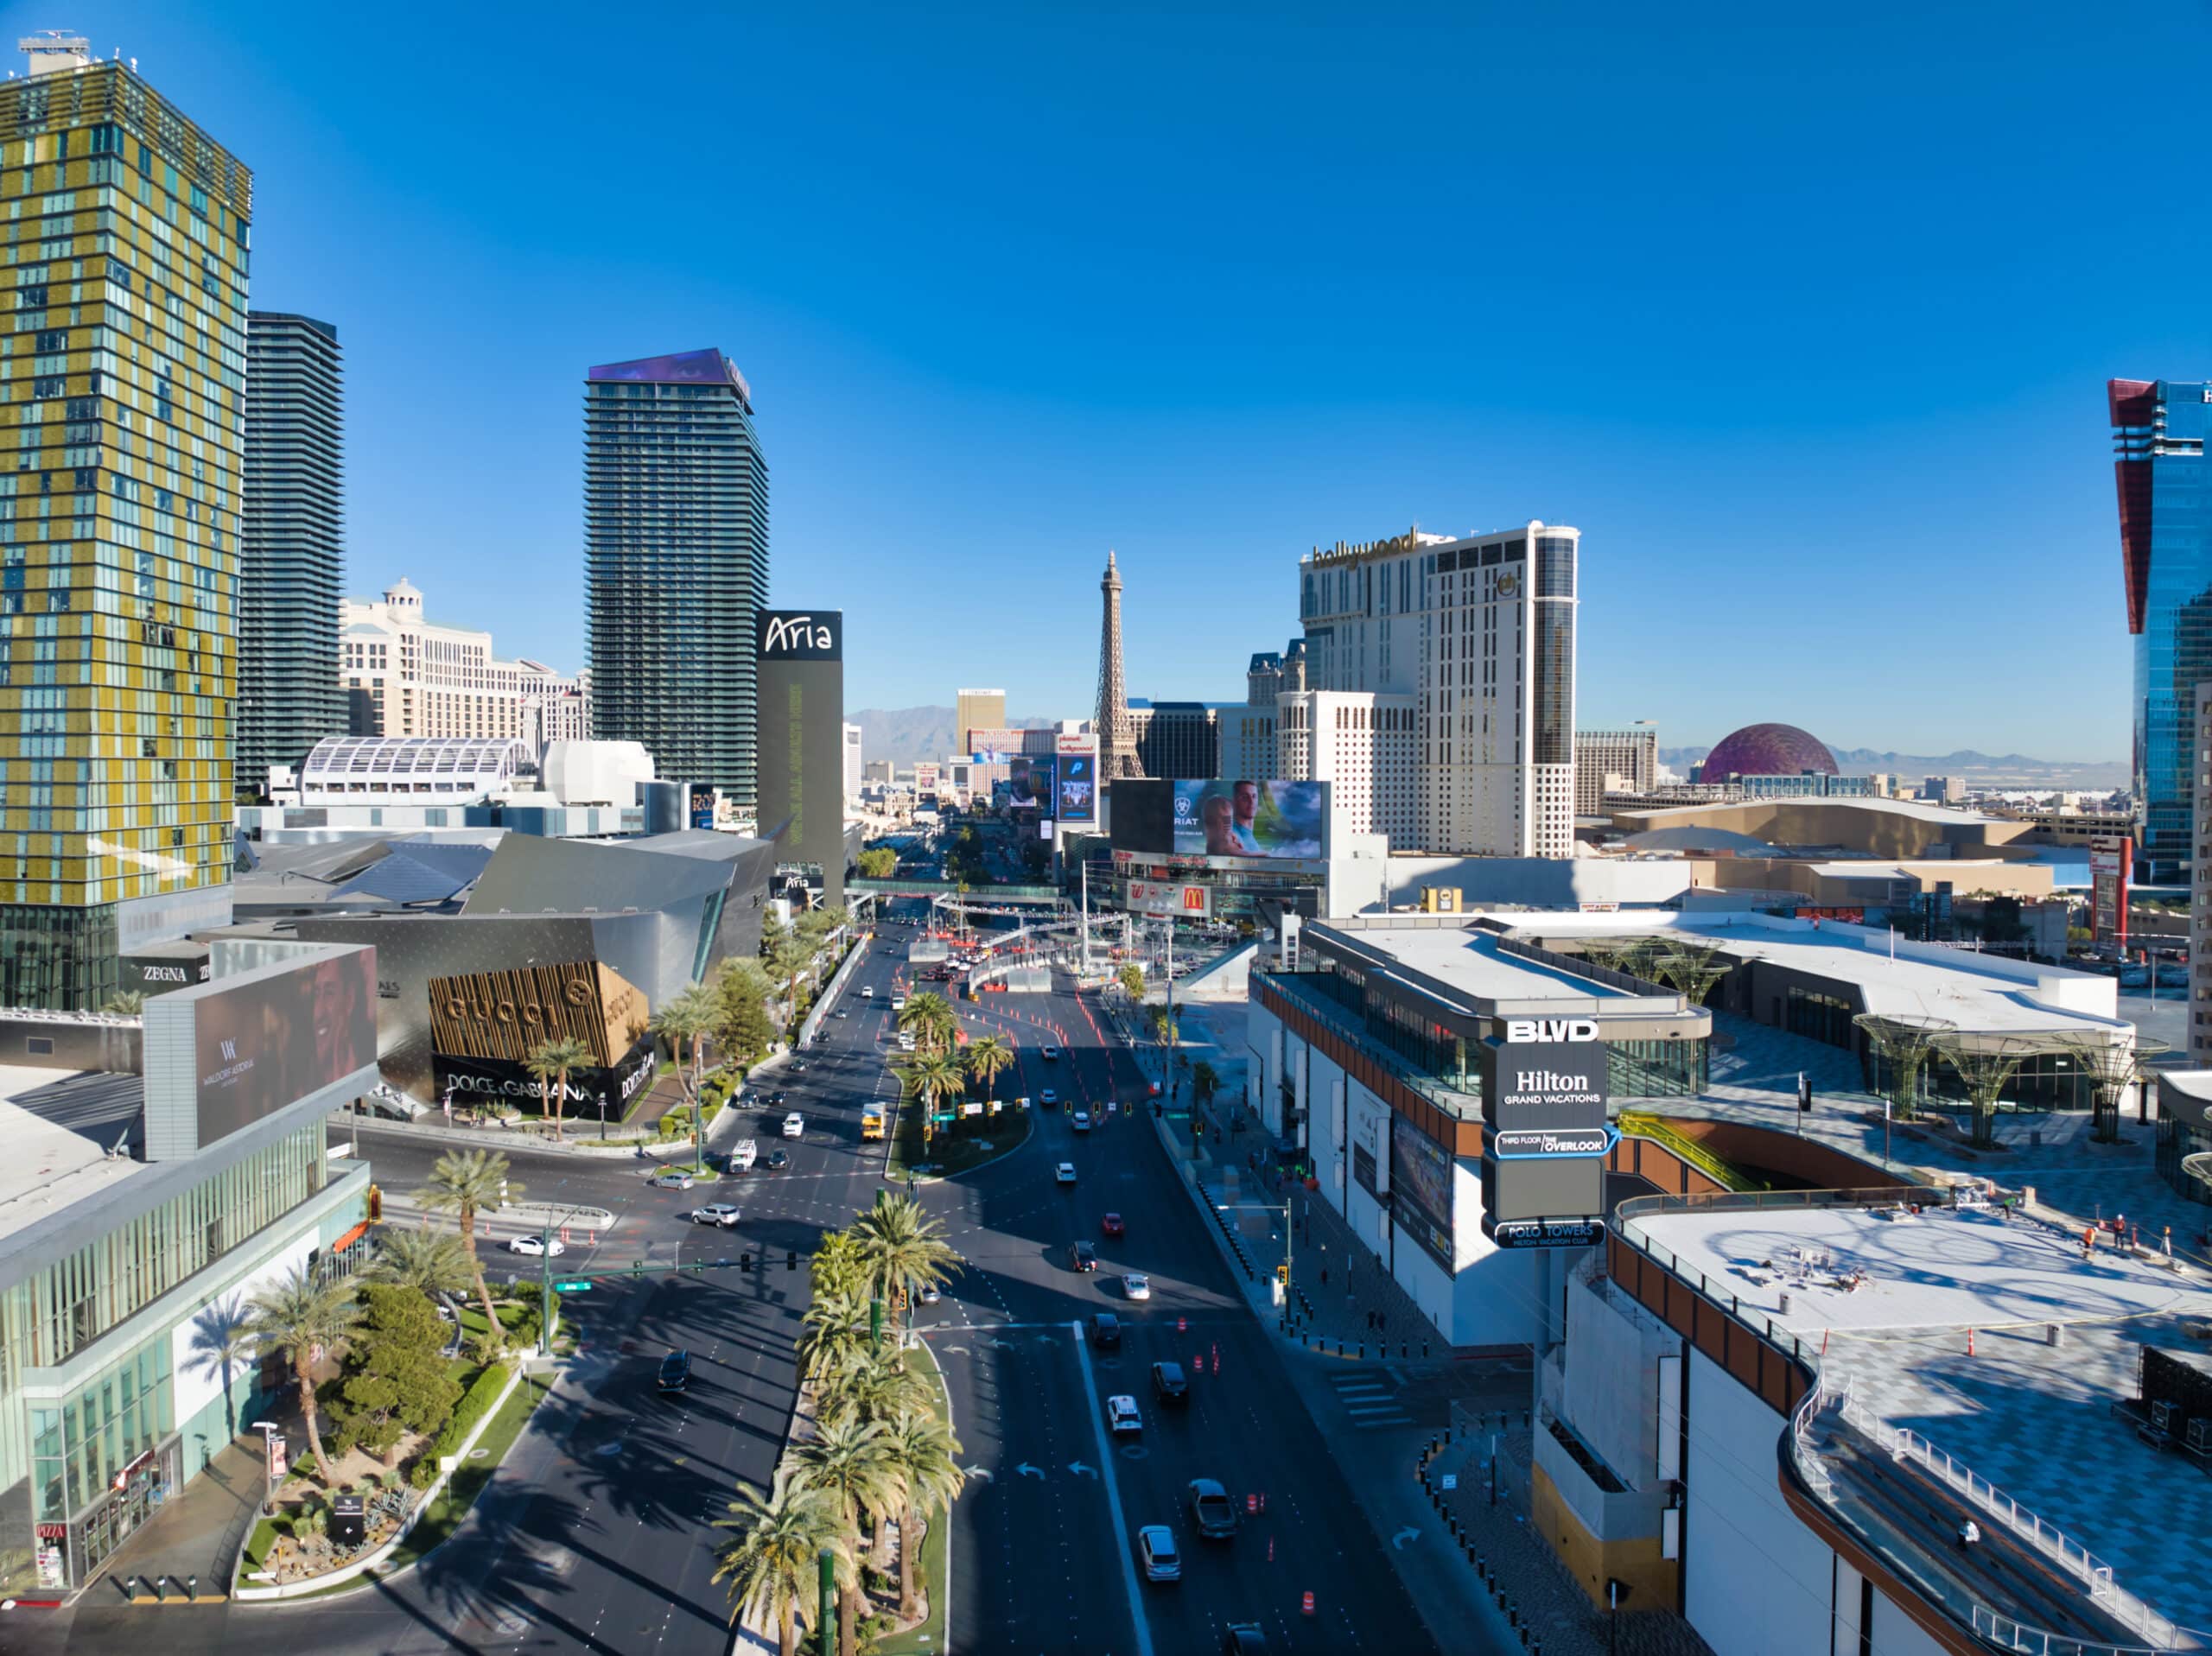
Viewing scenes from a bird’s eye perspective can incorporate patterns and dimensions into your photos.
Experiment with viewpoints to discover an engaging arrangement.
Find a vantage point to enhance your view.
Where you start your photography session can significantly influence the outcome.
Boost Your Takeoff Game: Find the optimal spot to launch your drone from, considering the available options to maximize your altitude and performance.
Understand Your Boundaries: Consider the altitude limitations according to where you start to utilize your photography opportunities.
Use Advanced Settings
Today’s drones have cutting-edge capabilities that take your photography to the next level.
You can adjust your camera settings by using modes to tweak parameters such as ISO sensitivity, shutter speed, and aperture size.
Using bracket shooting enables you to capture shots at exposures that can later be combined during editing to create a well-balanced image.
Arrange your photos in a stack of seven.
Suppose noise is an issue in your images. You want to make a difference in quality and clarity.
Blending shots of the scene in editing software can help reduce noise and improve clarity through image averaging.
Simulating exposure effects is achievable through stacking techniques to add motion to your images.
Conclusion
By incorporating these seven tips into your drone photography routine, you can significantly improve the quality of your images. Remember, practice makes perfect, so get out there and capture stunning aerial shots!

Comments are closed.