Introduction
In recent years, the world of photography has witnessed a revolutionary breakthrough with the advent of drone technology. Drone photography has taken the art of capturing images to new heights literally! With the ability to soar through the skies and capture breathtaking aerial perspectives, drones have become an essential tool for photographers, videographers, and enthusiasts alike. This comprehensive guide will delve into the fascinating world of drone photography, exploring its techniques, equipment, creative possibilities, and legal considerations. So, fasten your seatbelts and prepare to take off on an exhilarating journey through the skies!
What is Drone Photography?
Drone photography, or aerial photography, involves capturing images or videos from an unmanned aircraft system (UAS) equipped with a camera. Drones, remotely controlled by ground operators, provide a unique vantage point that was once only accessible to pilots or specialized aircraft. Their versatility and maneuverability make them ideal for capturing stunning shots from various angles, heights, and locations.
With the advancements in drone technology, professionals and hobbyists can now explore the world of aerial photography like never before. Whether capturing majestic landscapes, documenting events, conducting aerial surveys, or inspecting infrastructure, drones have expanded photography’s creative possibilities and applications.
Advantages of Drone Photography
Drone photography offers a multitude of advantages that have revolutionized the field of visual storytelling. Let’s explore some of the key benefits:
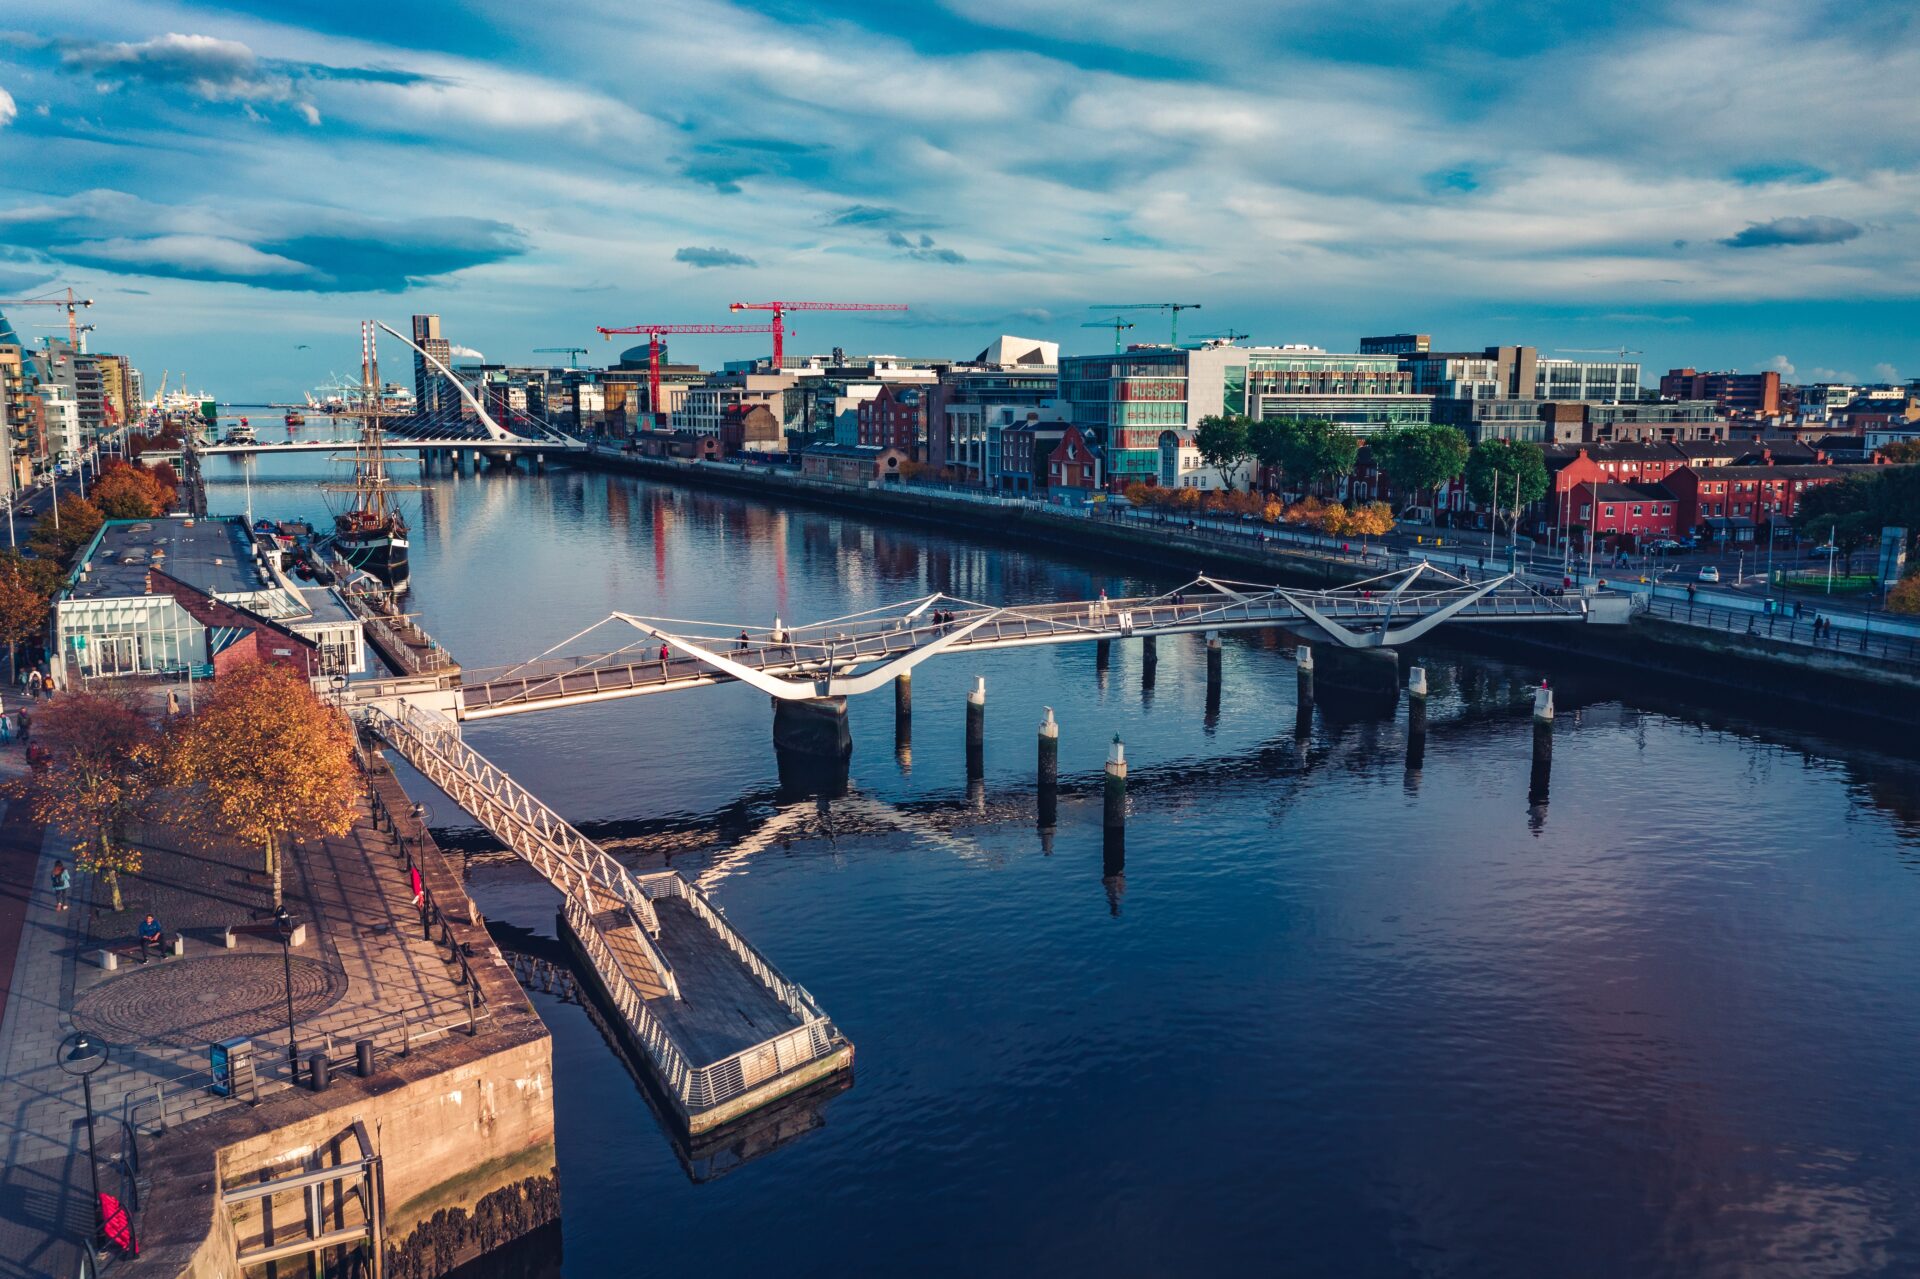
- Unique Perspectives: Drones allow photographers to capture images from high above, offering unique and breathtaking perspectives that were once unimaginable. Drones unlock a new world of visual possibilities, from towering skyscrapers to sprawling landscapes.
- Ease of Access: Unlike traditional aerial photography methods that require expensive helicopters or planes, drones are cost-effective and accessible to many users. A drone can achieve stunning aerial shots without breaking the bank.
- Flexibility and Maneuverability: Drones are nimble and agile, allowing photographers to maneuver them into tight spaces or fly them over challenging terrains. This flexibility lets photographers capture shots from diverse angles and positions, creating dynamic and visually striking compositions.
- Time Efficiency: In the past, capturing aerial shots involved meticulous planning, coordination, and considerable time investments. With drones, photographers can quickly launch their aircraft and capture stunning visuals within minutes, saving valuable time without compromising quality.
- Safety: Drones have significantly reduced the risks associated with aerial photography. Photographers no longer need to put themselves in harm’s way by climbing tall structures or hanging out of helicopters. Instead, they can safely operate the drone from the ground while enjoying a bird’s-eye view.
- Real-Time Monitoring: Many drones come equipped with live video streaming capabilities, allowing photographers to view the footage in real time on their remote controllers or smartphones. This feature enables them to adjust on the fly and ensures they capture the perfect shot every time.
- Innovative Applications: Drone photography is not limited to traditional still photography. It has found applications in various industries, including filmmaking, real estate, land surveying, environmental monitoring, search and rescue operations, and more. The possibilities are endless!
Choosing the Right Drone
Selecting a suitable drone is crucial to embarking on your drone photography journey. With an overwhelming array of options in the market, it’s essential to consider your specific requirements and budget. Here are some factors to consider when choosing a drone:
- Purpose: Determine the primary purpose of your drone photography. Are you capturing landscapes, events, or commercial projects? Different drones offer varying features and capabilities to cater to specific needs. For example, if you’re focused on aerial videography, look for a drone with excellent stabilization and video quality.
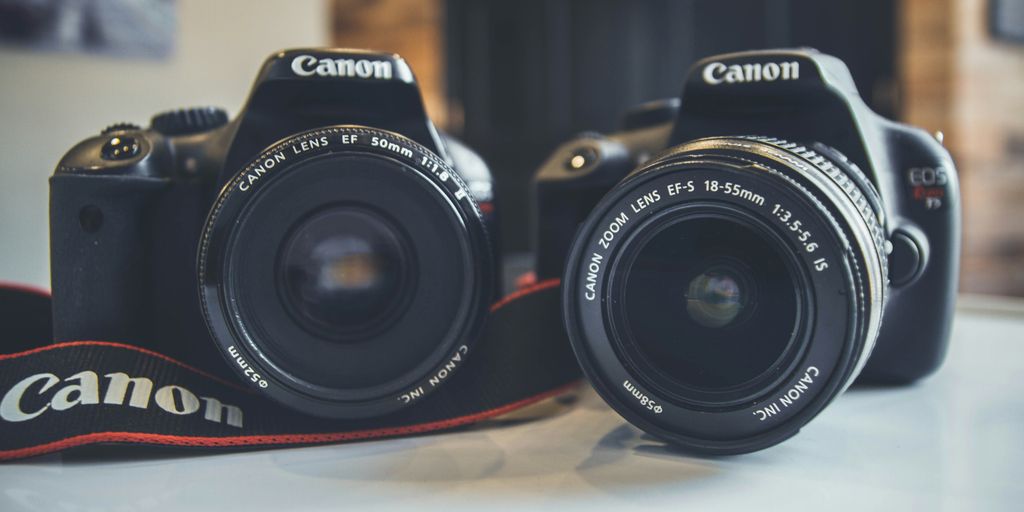
- Camera Specifications: The camera is the heart of your drone photography setup. Consider the camera’s resolution, image quality, sensor size, and stabilization capabilities integrated into the drone. Look for drones that can shoot in RAW format for maximum post-processing flexibility.
- Flight Time and Battery Life: Check the drone’s flight time and battery life to ensure it aligns with your shooting requirements. Longer flight times allow for extended aerial exploration without frequent battery changes. Additionally, consider investing in spare batteries for uninterrupted shooting sessions.
- Range and Control: Assess the drone’s range and control capabilities. A more extended range allows you to explore vast areas, while responsive controls offer precise maneuverability for capturing critical shots.
- Portability: If you plan to travel extensively with your drone, portability becomes crucial. Look for lightweight, foldable drones that are easily transported without compromising performance and image quality.
- Obstacle Avoidance and Safety Features: Advanced drones have obstacle avoidance sensors and intelligent flight modes to ensure safe operations. These features help prevent collisions with objects, buildings, or even wildlife during flight, minimizing the risk of accidents.
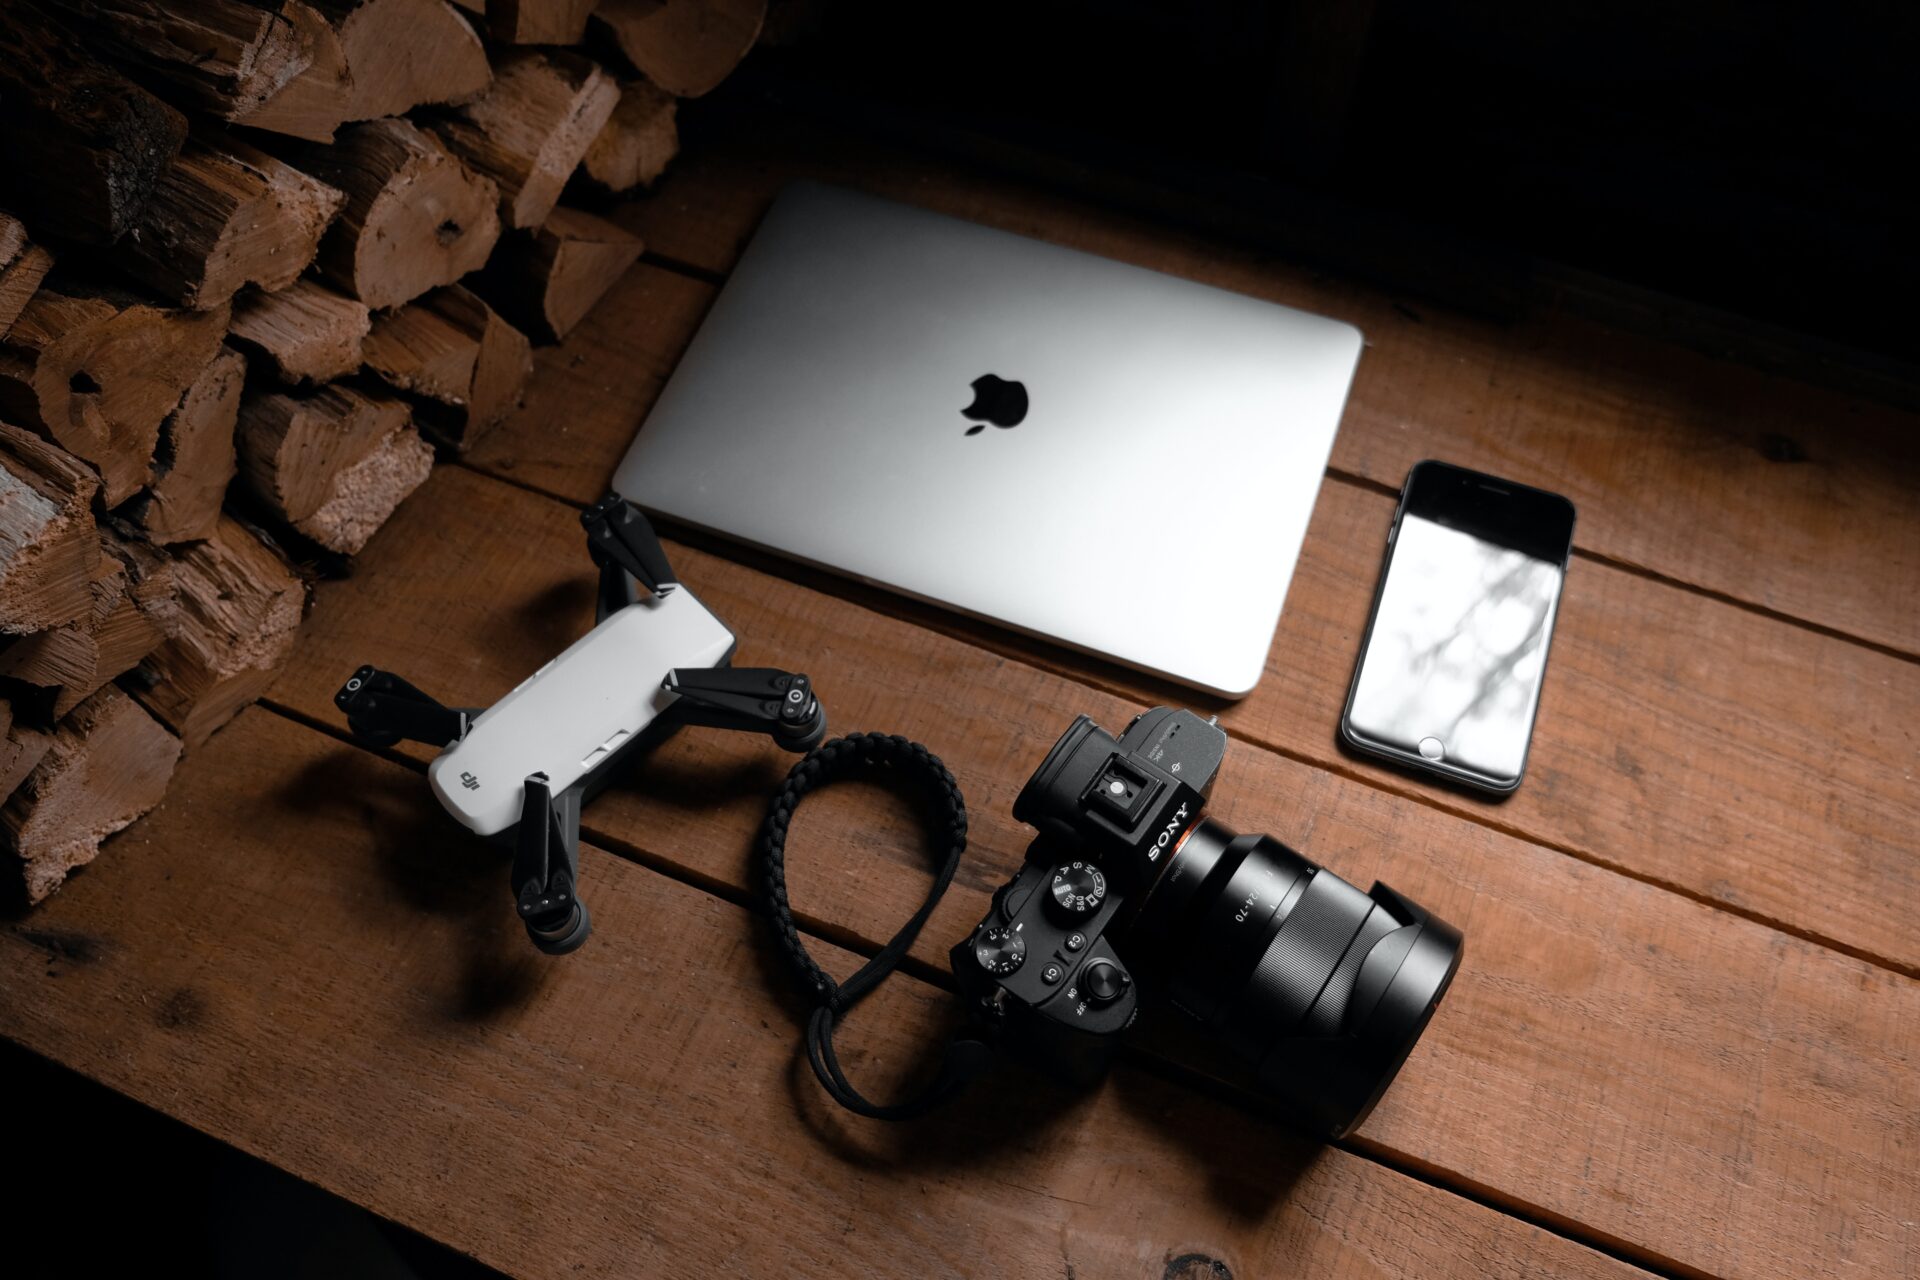
Essential Accessories for Drone Photography
To enhance your drone photography experience and take your shots to the next level, consider investing in these essential accessories:
- Additional Batteries: Extend your shooting sessions with spare batteries to maximize your flight time and capture more stunning imagery.
- Neutral Density (ND) Filters: ND filters reduce the light entering the camera, allowing you to achieve more balanced exposures in bright conditions. These filters are handy for capturing long exposures or reaching smooth cinematic footage.
- Polarizing Filters: Polarizing filters help reduce glare and reflections, especially when shooting over water or in highly reflective environments. They enhance color saturation and increase contrast, producing vibrant and visually pleasing images.
- Memory Cards: Invest in high-quality, high-capacity memory cards to accommodate the large file sizes generated by drone cameras. Look for fast write speeds to ensure smooth and uninterrupted recording.
- Carrying Case or Backpack: Protect your drone and accessories while on the go with a sturdy and well-padded carrying case or backpack. This ensures that your equipment remains safe during transportation and allows for convenient organization.
- Tablet or Smartphone Mount: Mounting your tablet or smartphone on the drone’s remote controller provides a larger, more detailed screen for monitoring the live feed and adjusting camera settings. It offers better visibility, especially in bright sunlight.
- Propeller Guards: Propeller guards add a layer of protection to your drone during flights, minimizing the risk of damage in case of collisions with objects or accidental bumps.
Mastering Drone Flight Control
Flying a drone is an exhilarating experience, but it requires practice and an understanding of the controls to achieve smooth and stable flights. Here are some tips to master drone flight control:
- Read the Manual: Familiarize yourself with the drone’s user manual and understand its features, flight modes, and safety guidelines. This will help you operate the drone effectively and avoid any mishaps.
- Start in Open Spaces: Begin your drone flying journey in open spaces with minimal obstacles to give yourself ample room to practice and build confidence. Avoid crowded areas, trees, power lines, and other potential hazards until you have gained more experience.
- Learn the Flight Modes: Most drones offer different flight modes, such as GPS, altitude hold, and follow-me mode. Understand each mode’s functionality and practice flying in various ways to understand how the drone responds to other inputs.
- Take It Slow: When starting, it’s essential to take it slow and gradually move with the drone. Jerky or sudden maneuvers can destabilize the flight and lead to shaky footage. Practice smooth and gentle movements to achieve cinematic results.
- Pay Attention to Wind Conditions: Wind can significantly impact your drone’s stability and maneuverability. Be mindful of the wind speed and direction before taking off. Avoid flying in strong winds, as they can affect the drone’s strength and compromise image quality.
- Practice Hovering and Basic Maneuvers: Spend time practicing hovering the drone at a fixed position and performing basic maneuvers such as ascending, descending, rotating, and flying in a straight line. These fundamental skills are essential for capturing well-composed and steady shots.
- Use the Joysticks Responsibly: Control the drone’s movement using the Joysticks on the remote controller. Be gentle with your inputs and avoid sudden or exaggerated movements. Develop a delicate touch to achieve precise and controlled flights.
Composition Techniques for Aerial Photography
Composition plays a crucial role in creating visually appealing drone photographs. Here are some composition techniques to consider when framing your aerial shots:
- Rule of Thirds: The power of thirds is a classic composition technique for drone photography. Imagine dividing your frame into a grid of nine equal sections with two horizontal and two vertical lines. Position critical elements of interest, such as buildings, landscapes, or subjects, along these lines or at the intersections to create a visually balanced and engaging composition. Capturing better videos with your drone.
- Leading Lines: Look for natural or man-made lines in the landscape that can guide the viewer’s eyes through the frame. Roads, rivers, or even patterns in fields can serve as effective leading lines, adding depth and a sense of direction to your photographs.
- Foreground Interest: Incorporating an exciting foreground element in your aerial shots can add depth and create a sense of scale. This could be a tree, a rock formation, or any other object that grabs the viewer’s attention and provides context to the overall composition.
- Symmetry and Patterns: Aerial photography often presents captivating symmetrical patterns from above. Look for balanced elements like geometric shapes, architectural structures, or natural formations like lakes or islands. These symmetries create visually striking compositions that draw the viewer in.
- Point of Interest: Identify a critical subject or point of interest in your aerial shots to serve as the focal point. It could be a solitary tree in a vast landscape, a vibrant umbrella on a beach, or a boat sailing in a river. By highlighting a single point of interest, you add visual impact and give the viewer a focal point to explore the image.
- Negative Space: Negative space refers to your composition’s empty or unoccupied areas. Embracing negative space in drone photography can create a sense of solitude, vastness, or simplicity. Experiment with minimalist designs that allow the subject or landscape to breathe within the frame.
- Vertical and Horizontal Perspectives: Drones offer the freedom to capture images from various perspectives. Explore both vertical and horizontal compositions to showcase the grandeur of landscapes or the symmetry of architectural structures. This variety adds visual interest and expands the storytelling potential of your photographs.
Camera Settings and Exposure
Proper camera settings are essential for capturing well-exposed and sharp aerial photographs. Here are some camera settings to consider when shooting with a drone:
- Shooting Mode: Set your camera to manual mode (M) for maximum control over exposure settings. This allows you to manually adjust the aperture, shutter speed, and ISO, ensuring consistent results in different lighting conditions.
- Aperture: Selecting the correct aperture depends on the desired depth of field and the amount of light available. In landscape photography, a higher aperture (smaller aperture value), such as f/8 or f/11, is often preferred to ensure a more significant depth of field, keeping the entire scene focused. However, adjust the aperture to match the specific requirements of your shot.
- Shutter Speed: The shutter speed determines when the camera’s sensor is exposed to light. It affects the overall exposure and the motion blur in your images. When shooting aerial photography, aim for a faster shutter speed to freeze any movement and ensure sharp details. Experiment with different rates to find the optimal balance between exposure and motion blur.
- ISO: The ISO setting controls the camera’s sensitivity to light. Keep the ISO as low as possible to minimize noise and maintain image quality. However, you may need to increase the ISO to achieve proper exposure in low-light situations. Test different ISO settings to find the balance between image quality and direction.
- Metering Mode: Select the appropriate mode based on the lighting conditions and the scene you capture. Evaluative or matrix metering mode is a common choice, as it considers the overall set to determine the exposure settings. However, spot metering may be more effective in challenging lighting situations, such as high-contrast scenes, to ensure the correct exposure for the subject.
- RAW Format: Whenever possible, shoot in RAW format rather than JPEG. RAW files contain uncompressed and unprocessed data, allowing for greater flexibility during post-processing. They retain more details and offer a more comprehensive dynamic range, which is beneficial when dealing with challenging lighting conditions.
- Bracketing: Bracketing is a technique where the camera takes multiple shots at different exposures. This ensures you capture a range of exposures, from shadows to highlights, which can later be blended in post-processing to create a well-exposed final image. Bracketing is particularly useful in high-contrast situations where the dynamic range exceeds the camera’s capabilities.
Post-Processing and Editing Tips
Post-processing is vital in fine-tuning your drone photographs and achieving their full potential. Here are some post-processing and editing tips to enhance your aerial images:
- Choose the Right Software: Select a photo editing software that suits your needs and skill level. Popular options include Adobe Photoshop and Lightroom, Capture One, or Skylum Luminar. These software tools offer a wide range of editing capabilities and robust features tailored for professional photographers.
- Crop and Straighten: Use the cropping tool to refine the composition and remove any distracting elements from the edges of your frame. Straighten the horizon if needed to ensure a level and balanced design.
- White Balance: Adjust the white balance to correct any color cast in your images. Depending on the lighting conditions, you may need to adjust the temperature (warmer or cooler) or tint to achieve accurate and pleasing colors.
- Exposure and Contrast: Fine-tune the exposure and contrast to enhance the overall tonal range and highlight the details in your image. Increase the exposure for darker images or reduce it for brighter images. Adjust the contrast to add depth and make the image pop.
- Saturation and Vibrance: Use the saturation and vibrance adjustments to control the intensity of colors in your image. Be careful not to overdo it, as overly saturated images can look unnatural. Aim for a balance that brings out the richness of the scene while maintaining a realistic look.
- Sharpening and Noise Reduction: Apply appropriate sharpening to enhance details and make the image appear crisp. Adjust the level of noise reduction to minimize any digital noise present, especially in low-light situations. Find the right balance to maintain a natural and clean-looking image.
- Selective Adjustments: Utilize local adjustment tools, such as brushes or gradients, to make selective adjustments in specific areas of your image. This allows you to target particular elements or correct localized issues, such as exposure, color, or sharpness, without affecting the entire picture.
FAQs (Frequently Asked Questions) about Drone Photography
- Can anyone fly a drone for photography purposes?: While anyone can fly a drone, you must familiarize yourself with the local regulations and guidelines governing drone usage. Different countries and regions have specific rules regarding drone flights, including permits, no-fly zones, and altitude restrictions. Ensure you follow these regulations to fly safely and legally.
- What safety precautions should you consider when flying a drone? Safety should always be a top priority when operating a drone. Some essential safety precautions include flying in open spaces away from people and obstacles, maintaining a visual line of sight with the drone, avoiding flying in adverse weather conditions, and keeping a safe distance from airports and restricted areas. Regularly inspect and maintain your drone to ensure it is in proper working condition.
- How can I capture smooth and stable aerial footage?: To achieve smooth and stable aerial footage, consider investing in a drone with built-in stabilization features, such as a gimbal. Additionally, practice gentle and soft movements with the drone’s controls, avoid abrupt maneuvers, and utilize post-processing tools for further stabilization.
- Are there any specific drone photography techniques for capturing landscapes?: When capturing landscapes, it’s important to emphasize the scale and depth of the scene. Utilize compositional techniques such as the rule of thirds, leading lines, and foreground interest. Experiment with different angles and heights to showcase unique perspectives of the landscape.
- What are the legal and ethical considerations when photographing with a drone?: When photographing with a drone, it’s crucial to respect the privacy of individuals and abide by local laws and regulations. Avoid flying over private property without permission, and be mindful of people’s personal space. Additionally, be considerate of wildlife and natural habitats and maintain a safe distance to avoid disturbance.
- Are there any tips for capturing drone photography during golden hour? Golden hour provides beautiful soft light and warm tones just after sunrise or before sunset. Plan your flights accordingly and experiment with different compositions to capture stunning drone photography during this time. Take advantage of the long shadows and warm hues to create captivating, atmospheric images. Tips for capturing drone landscape photography.
Conclusion
Drone photography offers a unique and captivating perspective, allowing photographers to capture breathtaking aerial images and videos. You can elevate your drone photography and create stunning visuals by understanding the essential equipment, mastering flight control, employing composition techniques, optimizing camera settings, and utilizing post-processing techniques.
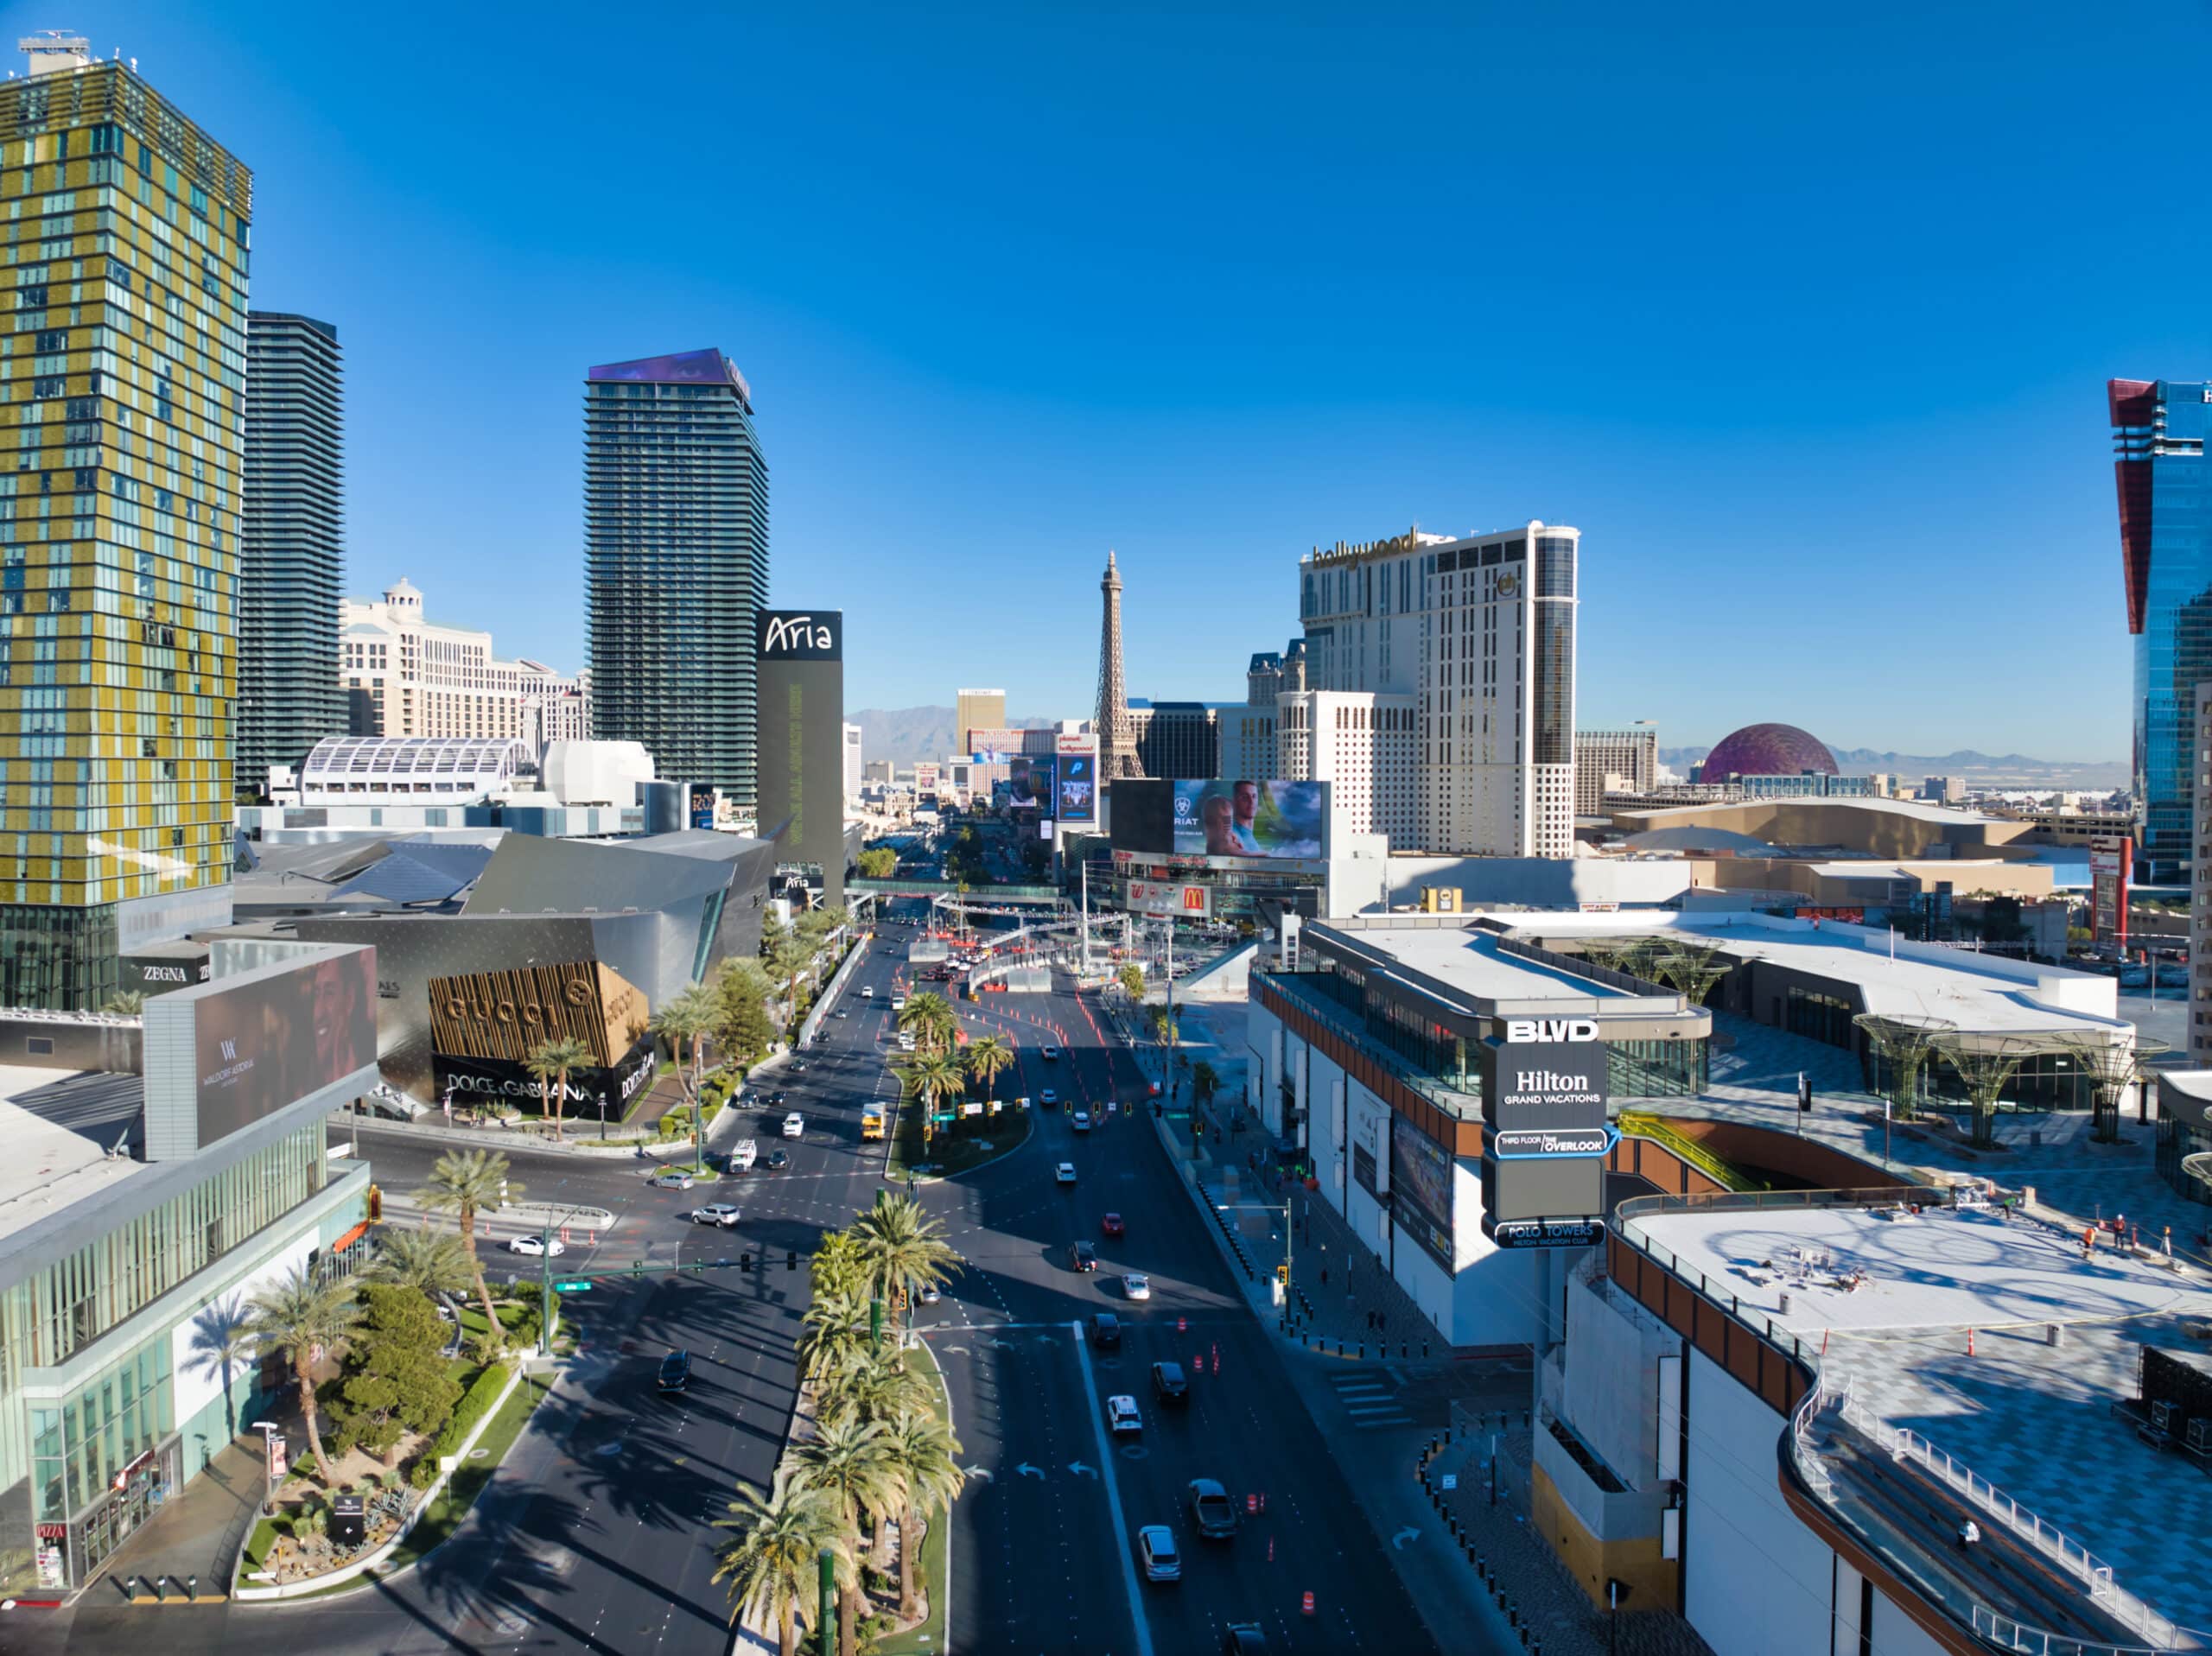
Remember always to prioritize safety, respect local regulations, and fly responsibly. With practice and experimentation, you can unlock the full creative potential of drone photography and capture images that inspire and amaze you. Fly Safe. Getting the perfect shot- Drone Pilots in Las Vegas.
Comments are closed.